The first step to secure the metal plate was to drill four additional holes into our stack plate. These will allow four additional standoffs to be mounted to hold the plate securely onto the capsule. We used a laser-cut jig to line up a hand drill and manually drilled each one.
Then, we cut four aluminum stand-offs. For our prototype, we used cylindrical aluminum rods we had lying around. However, we plan to change to hexagonal shafts – this will allow us to more easily grip the shaft to get extra leverage when screwing bolts in.
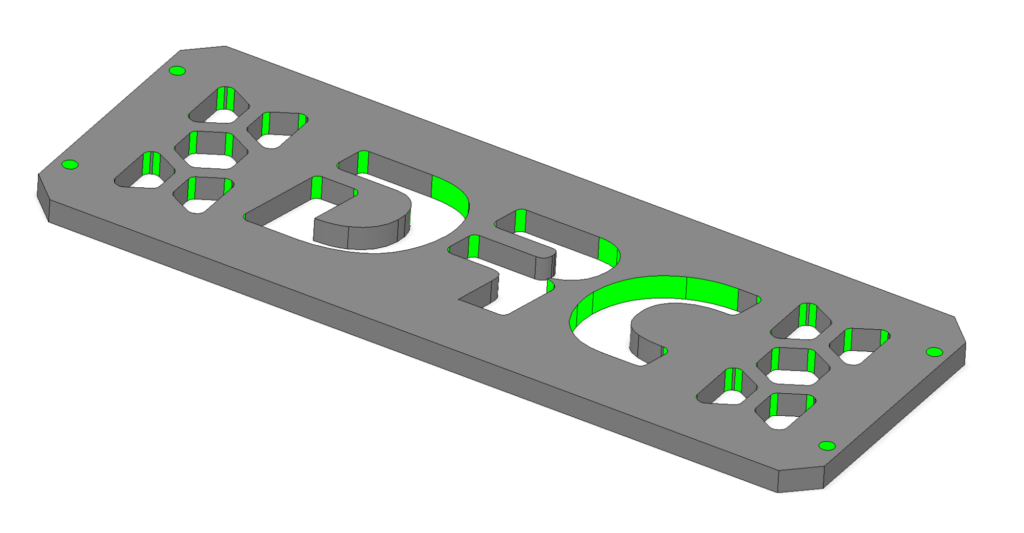
For the actual plate design, we went through several prototypes. We started with ⅛” aluminum, as this was a cheap option we could use as a quick proof of concept. While this plate did hold the capsule down, there was a worrying bend in the aluminum.
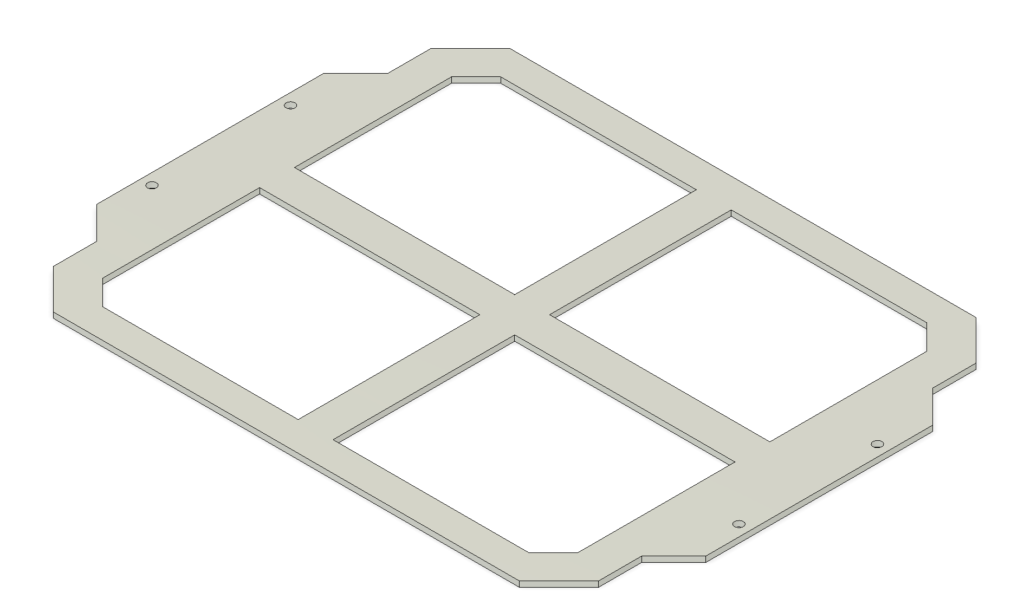
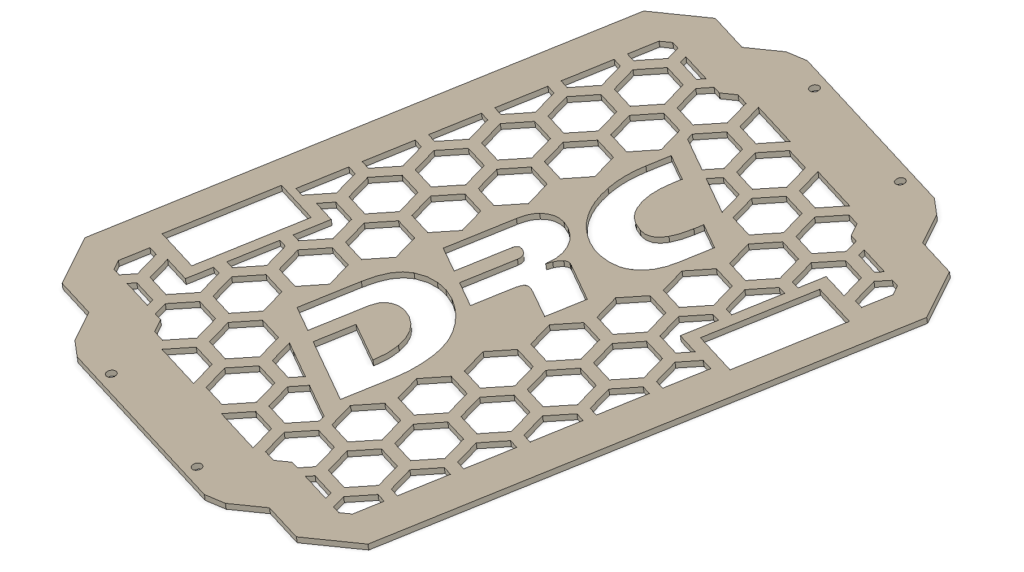
Therefore, we moved to some 0.4” aluminum stock we had in the shop. To save weight, we also tried a more compact design (below). This design also includes our logo and looks much better than the old one. However, even with the weight reduction, the plate was still quite heavy, so we wanted to explore a different option. Moreover, the new design did not put pressure evenly across the entire capsule, and we were worried this could cause issues down the line.
After comparing prices across several options, we settled on Grade 5 Titanium (⅛”). Titanium is much more rigid than aluminum, meaning we could reduce the thickness significantly. With this saved weight, we could once again expand our design to a plate that covers the entire stack, which distributes the weight more easily. During testing, the new titanium plate barely bends when fully screwed in.